
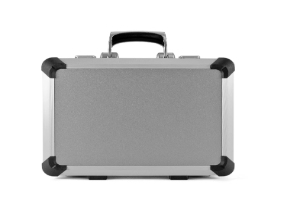
A plastic tool box vs metal tool box choice is less about tradition than about the kit and the worksite. A mechanic carrying dense hand tools across a shop floor may value different features from a technician taking meters and cables into customer buildings. Either material can disappoint when the size, hardware or interior does not match the job.
Write down what the box carries, how far it moves and where it is opened. Then compare production-representative samples at their loaded weight. Empty boxes on a showroom shelf conceal most of the useful differences.
Inventory the tools before choosing the box
List tools, consumables, batteries, chargers, test leads and documents. Record the largest dimensions and the total weight. Note sharp edges and oily or dirty items that should be separated from sensitive equipment.
Divide the kit into frequent-use, occasional and spare groups. This helps decide what belongs in the top tray, main compartment or a separate organizer.
Dense tools need support and balance
Sockets and metal tools can create concentrated loads. Look at the base, tray and handle attachment rather than assuming the body material carries every load equally.
Arrange heavy items low and near the centre. Load the sample and lift it with one hand. If it rolls toward the user or away from the leg, revise the layout before judging comfort.
Sensitive tools need location, not only space
A meter sliding among wrenches may be damaged even when the outer box remains intact. Use dividers, a removable module or a fitted foam organizer where equipment needs a repeatable position.
The tool box foam organizer guide explains finger access, cavity spacing and sample review for fixed layouts.
Compare the finished constructions
Plastic toolboxes may use molded ribs, integrated features and different polymers. Metal toolboxes vary in sheet thickness, folds, joints, coatings and reinforcement. Material names alone do not describe stiffness, load rating or service life.
Ask for the exact model specification. Inspect the body, lid, hinge, handle and latch together.
Look for movement at the handle and lid
Load the box to the planned mass. Lift it slowly and watch the handle mounts, lid and latch area. Some movement may be normal for a design, but interference, permanent distortion or unexpected opening is not.
Set the box down from normal carrying height without dropping it. Observe whether trays jump out of position or tools strike the lid. This is a handling check, not a substitute for a formal impact test.
Examine edges, corners and finish
Metal constructions should be checked for finished edges, joint quality and coating condition. Plastic parts should be checked around molded corners, hinge areas and fastener locations.
Decide how cosmetic wear will be treated. Scratches, dents and scuffs may be acceptable in a workshop yet unsuitable for a customer-facing service kit. Put that expectation in the acceptance record.
Calculate the complete carried weight
Empty weight matters, but tools often dominate the total. Add trays, organizers and consumables. Compare how both samples feel over the real walking route.
Handle shape affects pressure on the hand. Gloves may change grip. A shoulder strap can help with some light kits but may be unsuitable for a dense, swinging load.
Include stairs and vehicle loading
Carry the loaded sample up the actual stairs or a representative flight. Place it in the service vehicle and remove it without twisting around other cargo.
External size and handle position can matter more than a small weight difference. Check shelves, drawers and door openings before ordering.
Consider wheels only when the route supports them
Wheels can help with heavier kits on smooth floors. They add space and may be awkward on gravel, stairs or crowded vehicles. Pull the loaded sample over thresholds and around corners.
If the box has a telescoping handle, check play, locked height and clearance from the user’s heel. Ask how wear parts are replaced.
Review organization during a real task
Open the box on the normal work surface. Remove the first five tools in job order, then return them. A good arrangement should not require unloading the whole compartment to reach one common item.
Watch what happens to the lid and trays. A lid that falls closed or a tray with no stable resting place can slow work regardless of material.
Decide how missing tools will be noticed
A fitted silhouette can make an empty position obvious. Labelled dividers or a checklist can work for changing kits. Choose a system the team will maintain.
Do not mix inventory control with decoration. Contrasting foam is useful only if each cavity remains tied to an approved item list.
Plan for kit changes
If tool models change often, fixed cavities may age quickly. Reserve a documented flexible zone for changing consumables or use replaceable modules.
Keep stable measurement tools separate from dirty or sharp items. This may lead to two smaller boxes rather than one large mixed load.
Match cleaning and environment to the model
Worksites can introduce dust, water, oil and metal filings. Describe the likely exposure and the cleaning products used by the team.
Do not turn “plastic does not rust” into a promise that every plastic toolbox suits moisture, or assume that every metal box performs poorly when wet. Ask about the finished model, hardware and coating, and follow its maintenance instructions.
Treat ingress claims separately
A toolbox is not dust-tight or waterproof merely because of its material. If an ingress classification is required, request evidence for the exact closed model and configuration.
Opening the box in rain or dust remains an operational exposure. Plan a covered opening point or a quick-access layout where necessary.
Test the cleaning routine
Wipe the sample using the approved method. Inspect seams, corners and textured areas for trapped debris. Confirm that labels and markings remain readable.
For regulated or specialized contamination, follow the site procedure and obtain material-compatibility advice. A general toolbox comparison cannot define decontamination.
Make a documented sample decision
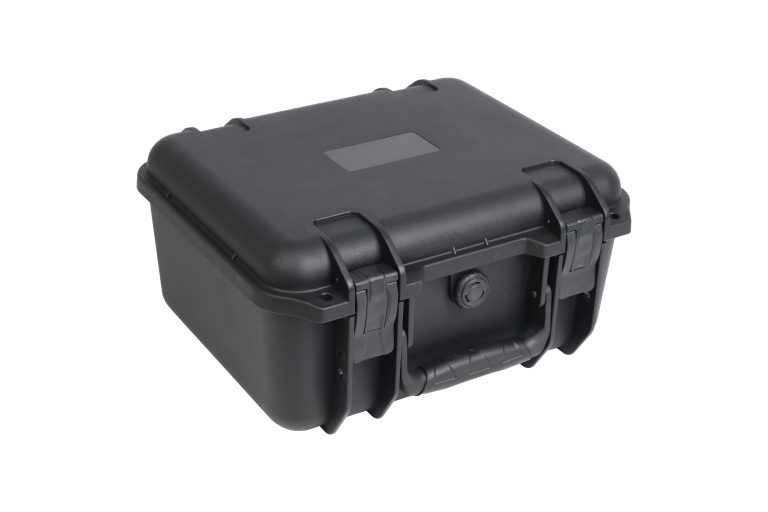
The plastic toolbox category provides molded formats to begin the comparison. If sensitive equipment needs a sealed-style enclosure, also review plastic protective cases. Dimensional examples such as YF-463546 and YF-504836 may help a buyer understand alternative equipment-case formats, but they should not be treated as direct toolbox equivalents.
Score each actual candidate against capacity, loaded weight, access, organization, route, storage, maintenance, evidence and price. Note the sample identifier and kit revision.
Use the sample review guide for findings and the custom case enquiry guide when the project needs a fitted interior, branding or a controlled configuration.
FAQ
Is a metal toolbox stronger than a plastic toolbox?
Not as a universal rule. Construction, geometry, hardware and load differ. Compare exact models at the planned loaded weight.
Which toolbox is lighter?
Check the specified empty weight, then calculate the full kit. A small empty-weight difference may be minor beside dense tools.
Can a plastic toolbox use custom foam?
Yes, when the usable interior and depth support the layout. Confirm finger access, lid clearance and fit on a sample.
What should I test before ordering?
Load the real kit, carry the normal route, use the trays and closures, place it in the vehicle, clean it and record any movement or access problem.