
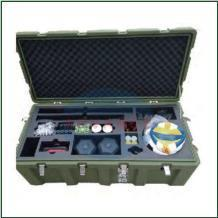
A product sheet gives 420 × 280 × 165 mm. The actual instrument is sitting nearby, and its connector cap reaches 18 mm beyond that outline. Rubber feet, missing from the sheet, add height. The travelling object wins this disagreement.
Retain the catalogue numbers as a reference, then show what the tape measure found. A labelled photograph can settle an awkward point faster than a paragraph. Two different units mean two recorded readings. A battery that has not been selected stays marked “open”; it does not justify a casual 20 mm added everywhere.
Gather the complete kit and name every item
Empty the working kit onto a clear table. Check the drawer for its power supply. Chargers, probes, adapters, spares, tools and even the paper manual join the group; duplicates sit together.
Now label the objects A01, A02 and so on. Carry those codes into the list, overhead photograph and drawing. When three black leads appear in a correction email, nobody has to guess which one was “the other cable.”
Confirm the transport condition
Fold the handle if that is how users pack it. Remove a cable only if the packing instruction will require removal. Covers that travel on the instrument stay on during measurement. Any detached antenna or connector must then appear elsewhere on the table.
Make this transport condition explicit. Otherwise the supplier has to guess, and one quiet guess can change both the main cavity and the accessory pocket.
Weigh dense and awkward items
The scale belongs next to the ruler. A palm-sized metal block may ask more of the base foam than a large hollow cover. Add every reading at the end. The total follows the design into its handle choice, wheel discussion and manual lift.
An off-centre balance point belongs on the sketch. It can decide orientation even when either direction seems to fit.
Measure the maximum outside envelope
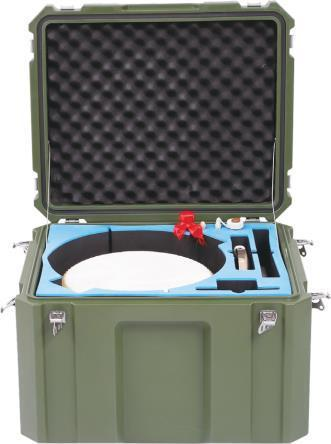
Use a caliper for a small feature and a rule for the broad envelope, but keep one unit throughout the record. Set the instrument in its packing orientation. Find the two furthest points on each axis and repeat any reading that depends on an awkward edge.
Irregular shapes are easier to communicate inside an imaginary clear box. Note that smallest enclosing length, width and height. The photographs then show where the shape pulls away from the box and where it still needs clearance or support.
Include protrusions and moving parts
Follow the outline by hand and stop at every projection. A knob, foot, hinge or port is easy to miss when attention stays on the main housing. Photograph the rule in place wherever another person might choose a different endpoint.
Move the handles and controls once. Record a travel lock in its closed position. For anything that must move freely, draw a shaded patch where foam is not allowed to bear.
Mark no-pressure areas
A display, connector, vent or calibrated control may fit within the envelope but should not carry load. Shade these areas on a sketch or annotated photograph.
Also identify safe support areas. Telling the designer where the equipment may be held is often more useful than a general request for “soft foam.”
Add removal and operating clearance
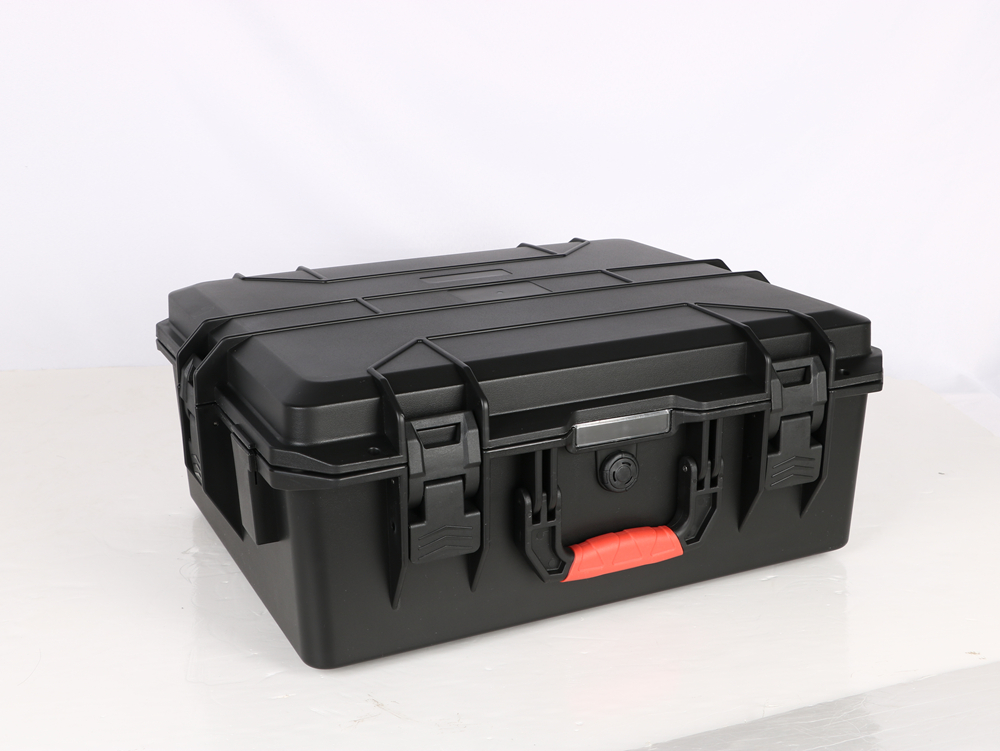
An exact pencil trace leaves the operator staring at an item with no grip. Place it on paper and ask for a normal lift. Thumb and fingertip marks reveal where the cavity needs to open up; sometimes the answer is a scallop, sometimes an exposed handle or ribbon.
Try again with work gloves and at the height where the case will sit. A grip that feels generous on a high table can become useless at the bottom of a deep floor case.
Check connected-use requirements
Some instruments never leave the case during use. Their drawing needs an open-lid position, airflow, cable bends, panel reach and a view of the display—not just a transport cavity.
Put operating mode in a separate box on the brief. A convenient cable opening may change the enclosure, which means the finished assembly needs a named owner and its own evidence.
Leave space for accessories deliberately
Leftover gaps are not an accessory plan. Sort the small items by task. One group may justify individual cavities, another a shared pocket, and a third a removable layer.
Use the cable coil that operators will actually make, not a showroom-perfect loop. Measure its diameter and depth, then turn the vulnerable connector away from lid or neighboring pressure.
Account for variation without guessing
Protective boots, castings and field repairs are good reasons to borrow a second unit for measurement. Put the narrowest and widest readings beside their serial or asset numbers.
If the table holds only one unit, make that limitation impossible to miss. Before the drawing starts, ask its owner about alternate batteries, later revisions and cable sets.
Keep allowances visible
Do not bake a guessed allowance into the measurement. “Measured width: 214 mm; cavity allowance: awaiting foam review” preserves both facts. An unexplained 224 mm does not.
That small distinction pays off at the next revision. The original reading survives while the supplier works through foam compression and manufacturing tolerance.
Control revisions
Date the list and give it a revision. When A03 changes, update A03’s photograph, reading and quantity rather than quietly replacing the old sheet.
The drawing and sample approval must quote that same revision. Without the link, a reorder can faithfully reproduce a layout the team thought it had retired.
Translate equipment measurements into a case shortlist
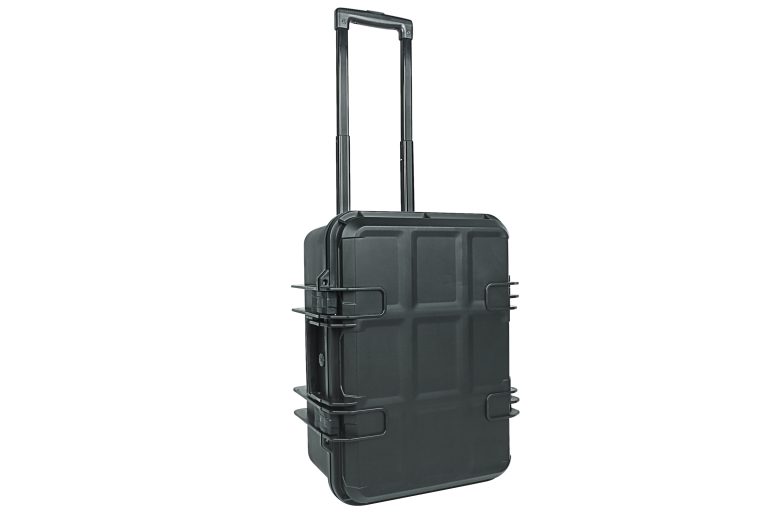
Arrange the outlines with their spacing, grip points and support underneath. Trace around the whole group. That boundary—not the size of the largest device—is the first useful interior target.
Put the case exterior on its own route sheet. Doorways, van shelves, racks and pallets care about those outside numbers. The packing drawing does not replace them.
Compare real interiors, not nominal volume
Nominal volume cannot warn that a long probe lands in a rounded corner. Nor does it reveal a hinge bulge, wheel well or thick rim. Look into the sample and mark those intrusions on the layout.
Use the plastic protective case category and rotomolded case category to find the near matches. For a first dimensional screen, compare examples such as YF-463546 and YF-583542. A layout that comes close to a wall still waits for a physical sample.
Check height with lid components
Build the vertical stack on paper: base foam, instrument, upper tray if used, then lid foam. Mark surfaces that may touch and controls that must remain unloaded.
Close the packed sample with an ordinary hand. A latch that suddenly needs body weight is reporting interference, not extra security.
Send a measurement package the supplier can use
The outgoing package is easy to audit: coded list, measurements, weights, photographs, preferred arrangement, transport condition, use, quantity and destination. Branding, panels and evidence requests sit on separate lines instead of hiding in an email thread.
The equipment list guide and custom case enquiry guide keep the information organized. When the supplier drawing comes back, tick every item code and source dimension. A missing tick is a question, not an automatic approval.
For the sample review, invite someone outside the drawing discussion. Watch that person load, carry, open and repack the kit. A pause or wrong reach often exposes the label or cavity that has become invisible to the design team. Record corrections through the sample review guide.
FAQ
Should I add foam thickness to the equipment dimensions?
No. Send the measured envelope as measured. Discuss foam thickness, spacing and manufacturing allowance beside it, so nobody later mistakes a design choice for equipment size.
Are manufacturer dimensions enough?
Use them as a cross-check. The item that travels still needs measuring because guards, boots, accessories and field changes may sit outside the published envelope.
How should I measure an irregular item?
Start with the smallest rectangular envelope that contains it. Add photographs identifying projections, pressure-sensitive areas and the surfaces that can safely take support.
What if the equipment model may change?
State what is undecided and attach the alternate dimensions available today. A staged sample or adjustable section keeps the uncertainty visible; oversize cavities merely conceal it.